The First Time I Built a Computer and Other Hard Things
You'd be surprised how hard I found it
Last Saturday, for the first time in my life, I built a computer. Every stage was painful and difficult. It was interesting.
You might point out that all I really did was assemble a computer: connecting seven or eight premade components in one case. No soldering involved. Nevertheless, I’m still going with build – it certainly felt like I was building something, and it’s the ‘official’ online terminology.
The troubles began with trying to choose the right parts.
The Joy of Terribly Named Tech Components
In many ways we have been spoiled by smartphones, which like to keep things simple. The iPhone 11 is more advanced than the 10. If a phone mentions Max in its title it is going to be big. If it mentions Pro it will be expensive. If it mentions Note it will be big and expensive. Most brands have only a handful of devices in play, and even laptops have well-known models like the Dell XPS 13, or the Lenovo ThinkPad Carbon. The precise details inside might change, but it’s all much of a much. You know where you stand, and can search for the ‘2020 version’ if in doubt.
Not so with desktop computer components. Say you want a graphics card, and go with the GeForce series from the most well-known brand, Nvidia (the alternative is AMD, who use even more confusing names). Currently available to buy in this category are the following Nvidia graphics cards:
GTX 1050, 1060, 1070, 1080
GTX 1650, 1660
RTX 2060, 2070, 2080
There are also very high-end Titan cards, a new incoming 30 series (confusingly going up to a 3090), and cut down ‘mobile’ equivalents which get put in laptops and are far weaker.
Broadly speaking, a higher number equals more power, but it’s not that simple. The 80’s in each series (e.g., 1680, 2080), are the top end. So while the 2060 is a more recent card than the 1060, it’s not as powerful as the older 1080, but might have some new tricks. On the other hand, for the upcoming generation, it’s claimed that the 3070 will outclass the 2080. The 1600 series sits somewhere in between the 10 series and 20 series, released more recently, but with purposely cut-down features.
Confused yet? Well each of these cards also comes in multiple fancier variants, with Ti or Super added to the end. The effectiveness seems to vary, so you get reviews advising you to always buy the 2070 Super over the 2070, but slightly more lukewarm on the benefits of the 2080 Ti, which is expensive.
Eventually, you find a card from the right series, with the correct suffix. Think you are done? Think again. Because every single one of those cards then has multiple different versions, produced by other manufacturers. And that’s just graphics cards. And each component interrelates with the others. So the initial research took a while.
The Building Process

While waiting for the parts to arrive, I watched several PC building videos. It looked tricky, but not impossible. After the wave of boxes turned up, things got more intimidating.
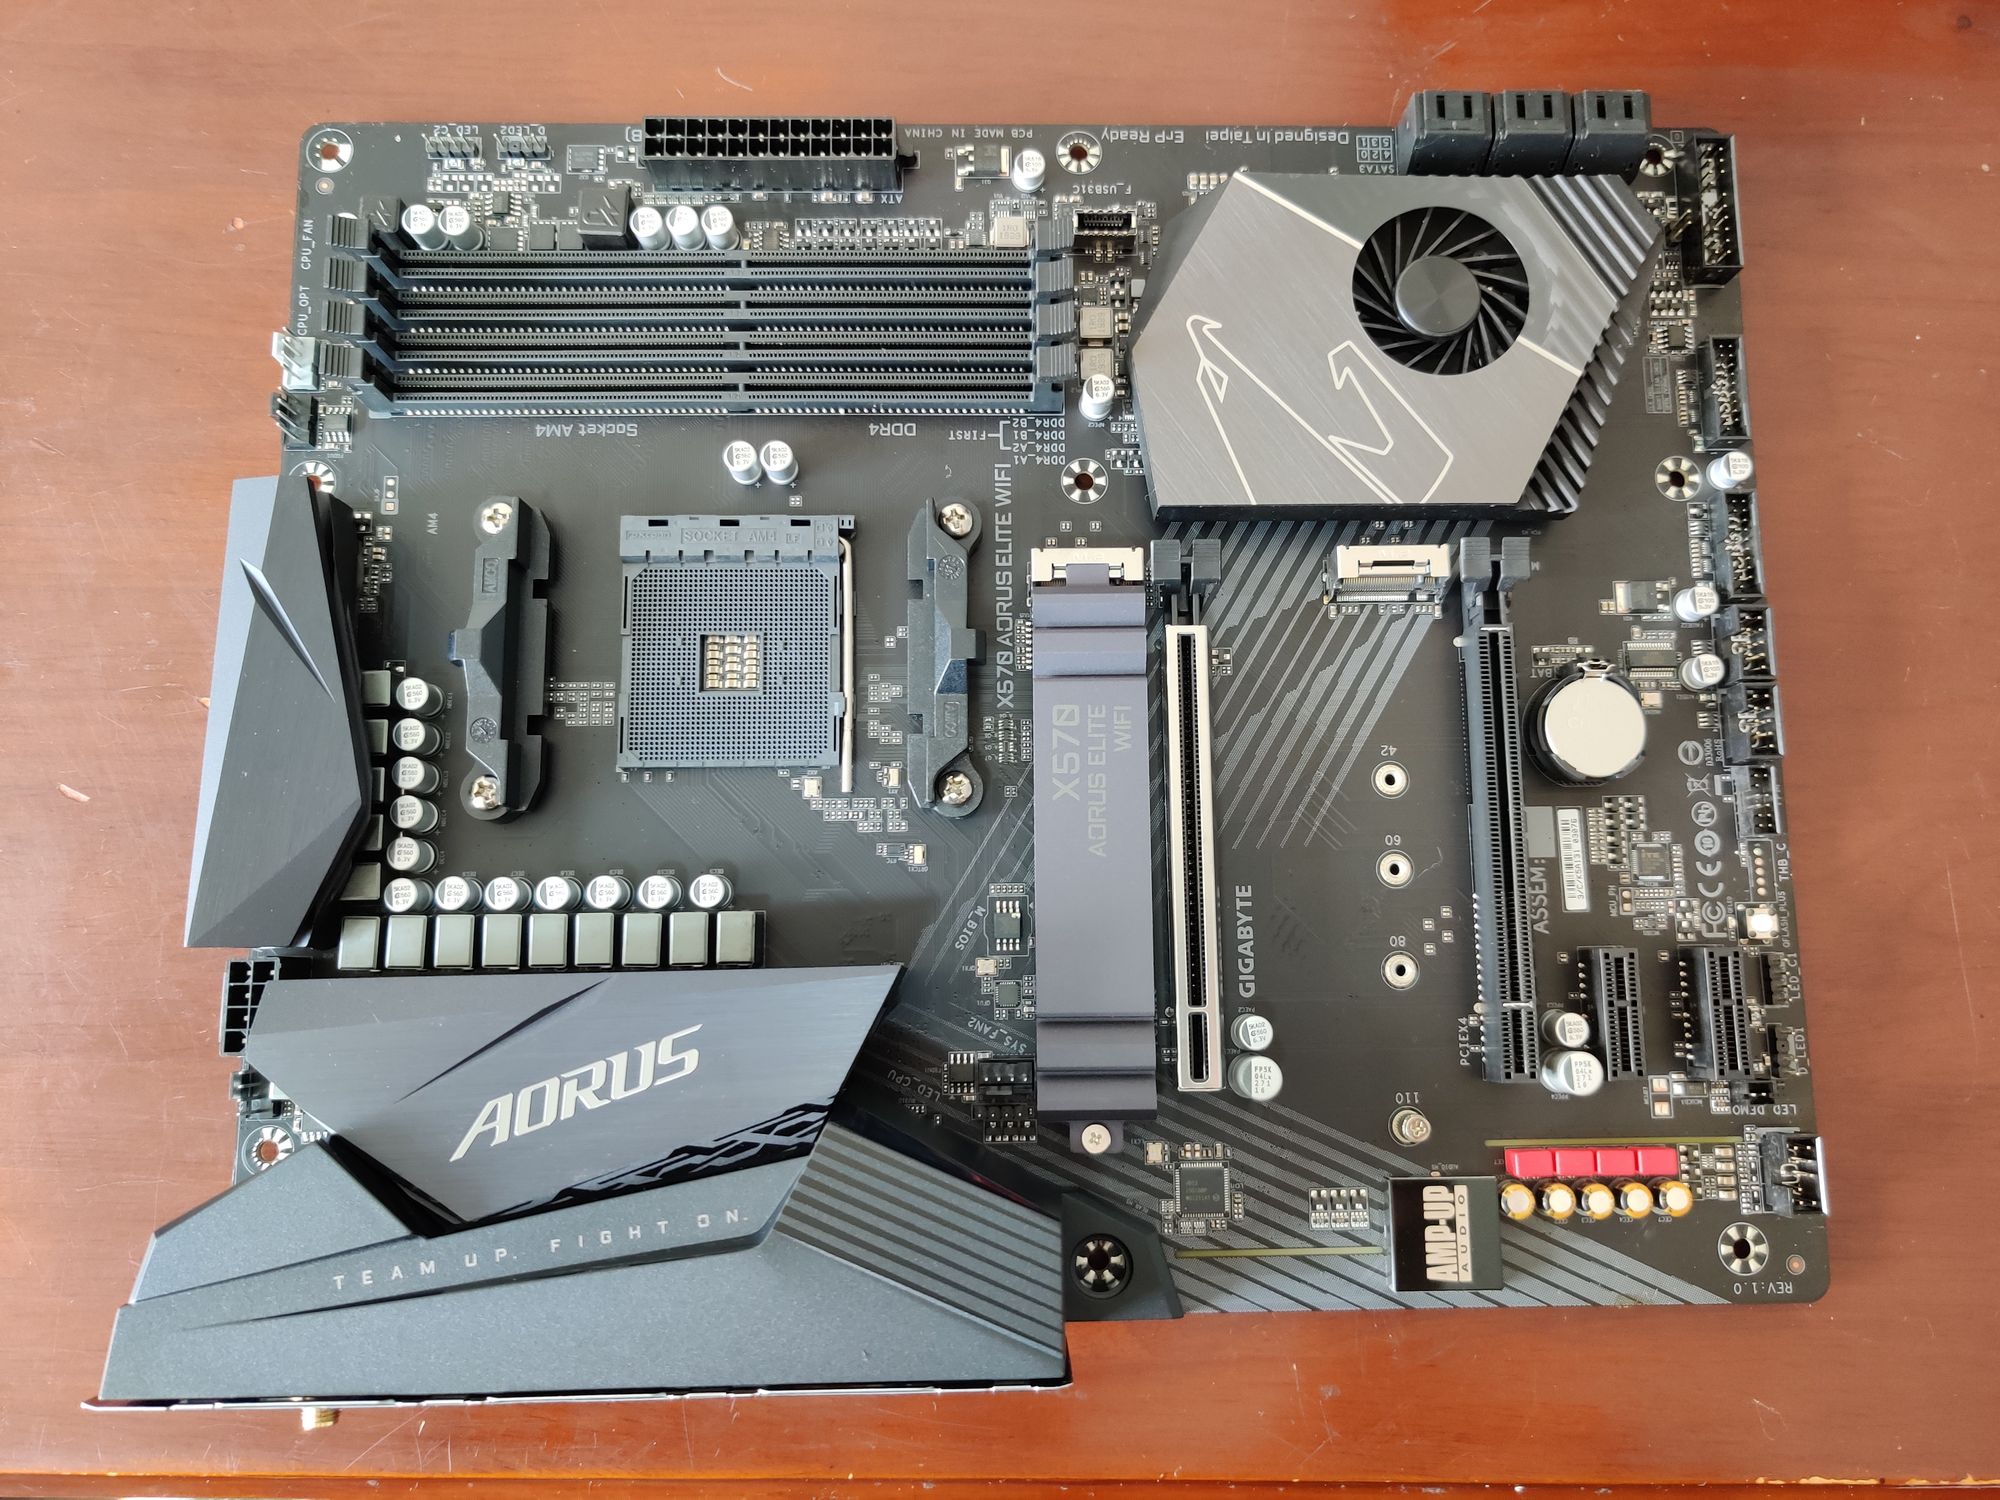
The standard procedure is to start by connecting several components to the motherboard, which is arguably the brain of the computer, to which all components (organs in this strained analogy), must be connected in order to receive inputs and function. Later, the motherboard gets put into the computer case, but that makes it harder to access, so it’s better to connect it to as many things as possible before then.
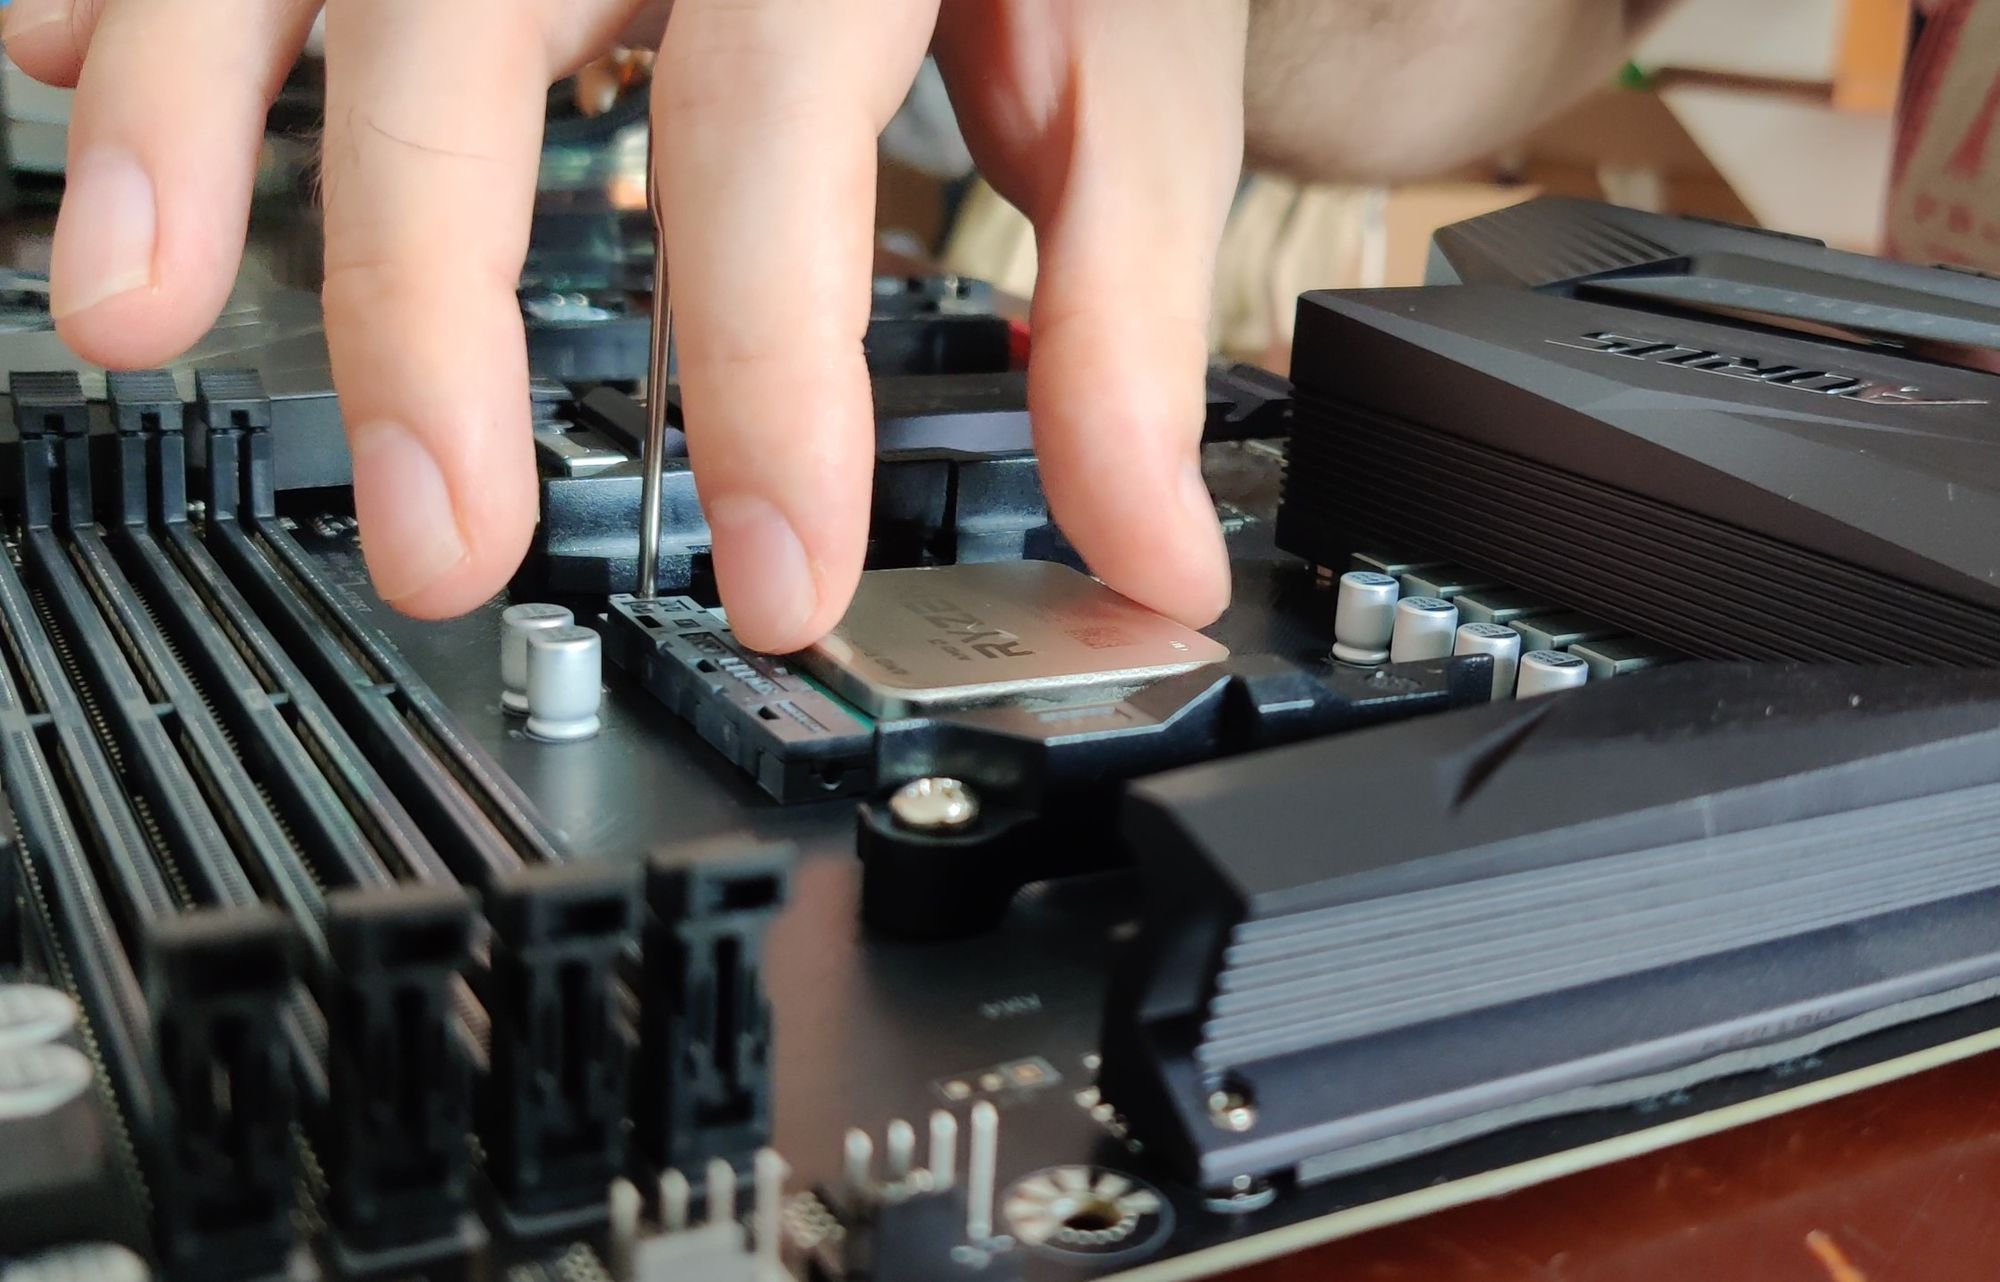
The first component is the CPU, responsible for processing. It is fragile, and many videos explain that when you pick it up you should not touch the bottom, and it is best not to touch the top. So I held the tiny, awkward square, trembling and sweating with fear of breaking it, before eventually putting it, clumsily, into place. I needed to very slightly shuffle it to fit it in, which made me worry I’d broken something, and so I had that fear in the back of my mind for the next 8 hours until I got to the end of the build.

Several installation videos for this model interestingly skipped the next step, adding an offhand comment about “oh yeah, then just add the cooler on top.” This worried, me, especially as one of the video comments said something like “typical, I see they left off the hardest part.”
Sure enough, it turned out that installing the bundled CPU cooler fan requires clamping it on top of the CPU with a lot of force, which is worrying after having just been told to be so careful.
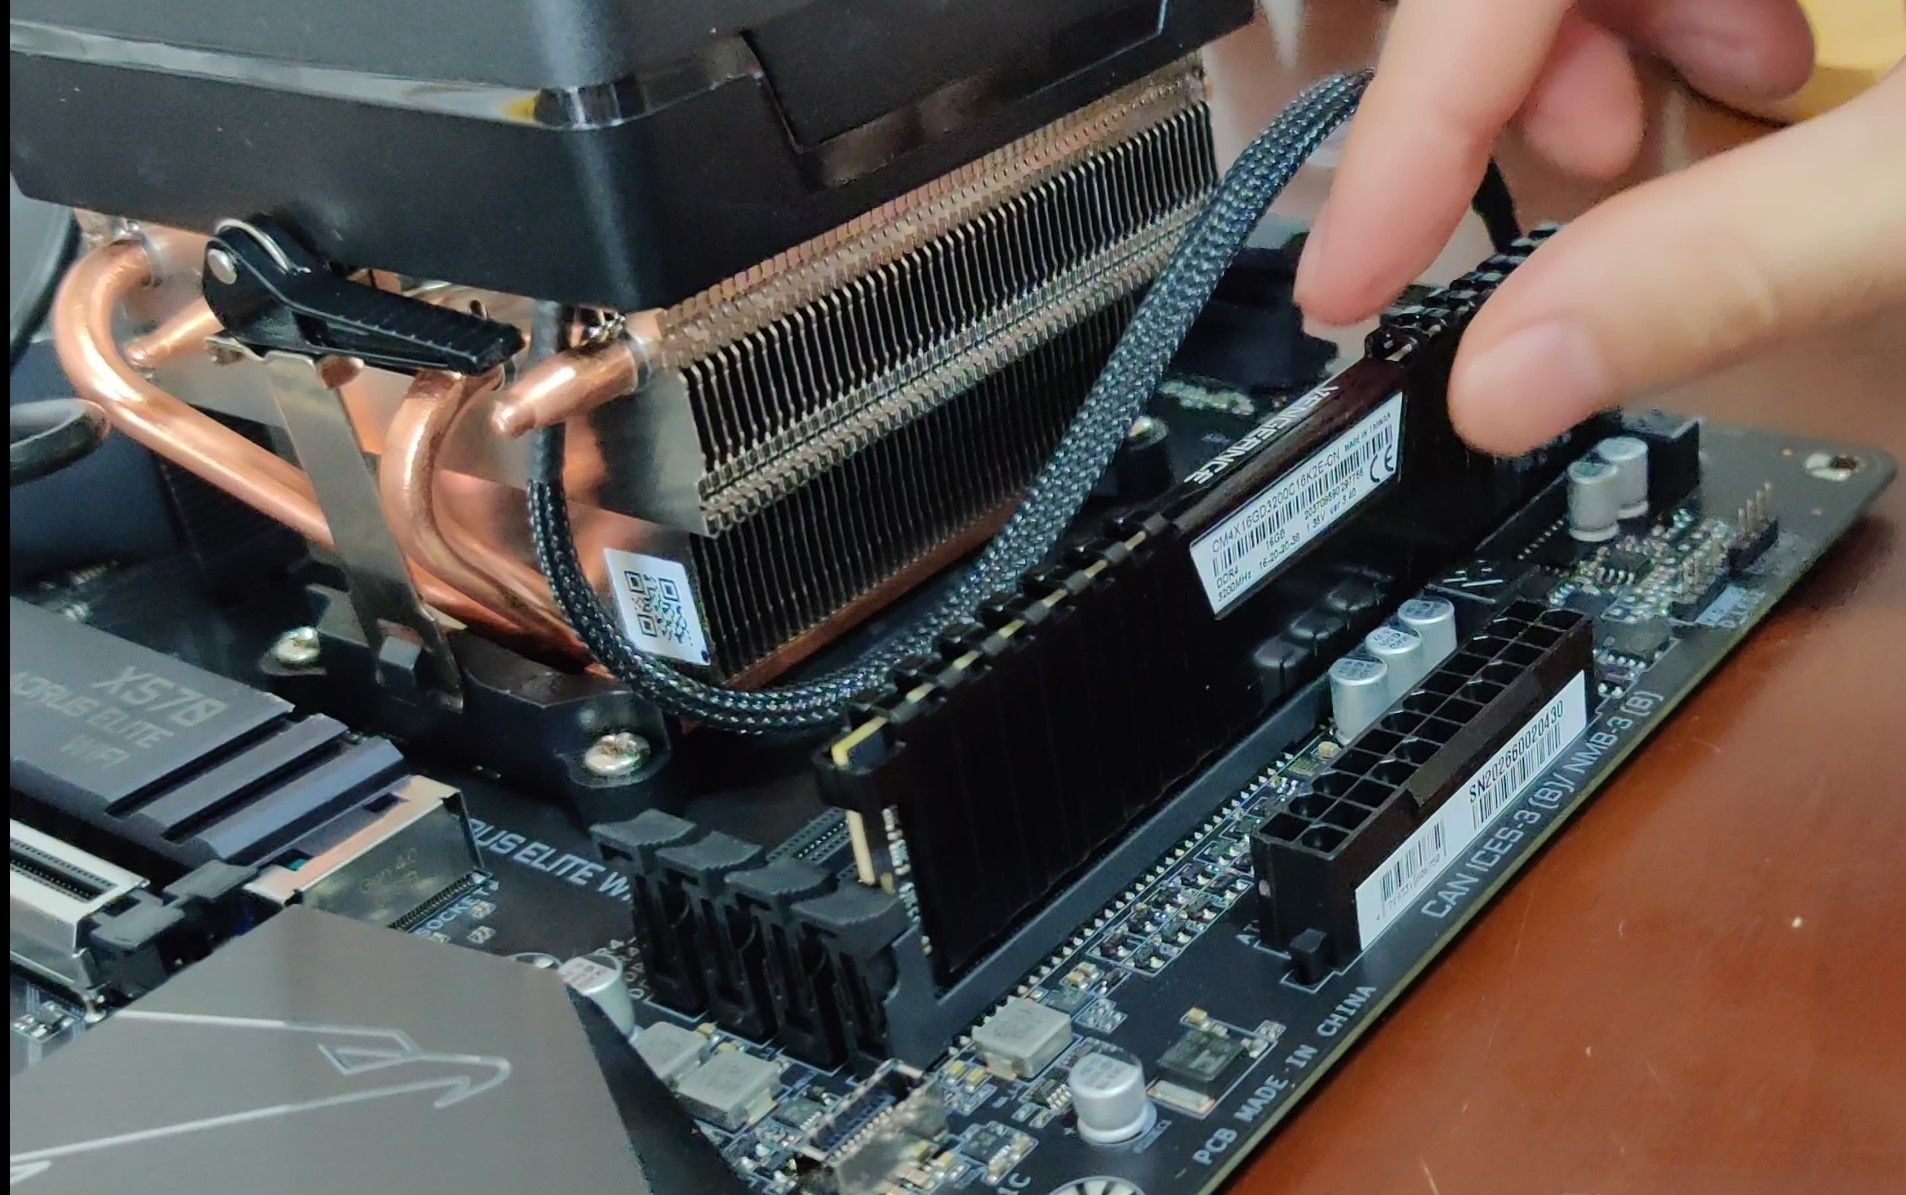
After this, things improved, as installing the RAM is, compared to everything else, joyously simple. It has an obvious, predefined place, doesn’t require any wires, and you just click the pieces in and feel like a spaceship engineer. RAM is also a simple concept to understand – the more of it you have, the more stuff you can do at the same time on the computer. I wish more of the build was like this.

Next was the NVMe SSD – a fast hard drive. Its place on the motherboard had its own special protective covering which needed to be found and opened up. The installation also relies on one tiny screw and fitting, buried in a pile of parts you didn’t think you needed.
Attaching the motherboard itself into the case was fine apart from nearly dropping the glass case panel after unscrewing it. The next complication was the power supply – a black square box which gets wedged in the bottom of the case. It provides power with huge awkward cables that need to somehow connect to everything else. It wouldn’t fit in very easily, and its around this time my wife became a lot more involved with the process, as we passed cables to each other through the holes in the case and she helped reach fiddly screws.
The graphics card was straightforward, with the design of the case and motherboard only really allowing one place for it to go, but the second, slower hard drive was a bit of a mission, as while the case had a designated slot for it, in making it ‘toolless’, it basically requires you to squeeze the hard drive into a plastic frame.
With all the main components finally in the case, I thought things were good to go, but there was one last challenge. There are various tiny leads for connecting stuff like the power and reset switch, and lights for said switch, on the case, to the motherboard. However, it was not at all obvious where these needed to plug in. Eventually, I worked out it was the ‘F-panel’, and that there was a separate tiny plastic unit which you could organize and plug the leads into first before plugging into that.
This was about everything, and so, we took the computer upstairs, at last, and turned it on. In a film the music would be crescendoing at this point. Lights came on, components hummed, fans whirred. And the attached monitor stayed resolutely black, receiving no signal from the computer.
It seems to be a tradition of first attempts to build a PC to have something go wrong at the hoped-for moment of triumph. Unfortunately, the internet was profoundly less helpful this time – as having no screen output can be the result of nearly anything having been done wrong.
Eventually though, I worked out that you weren’t mean to plug your HDMI cable into the HDMI slot on the motherboard, which would clearly be too simple, but instead it should be plugged into the graphics card directly. But no matter what angle I examined it from, I could not see any such HDMI port on the graphics card.
20 long minutes later, I found that the graphics card in fact did have an HDMI port. In fact it had several. All hidden under a ‘protective’ black rubber covering. Thanks Nvidia.
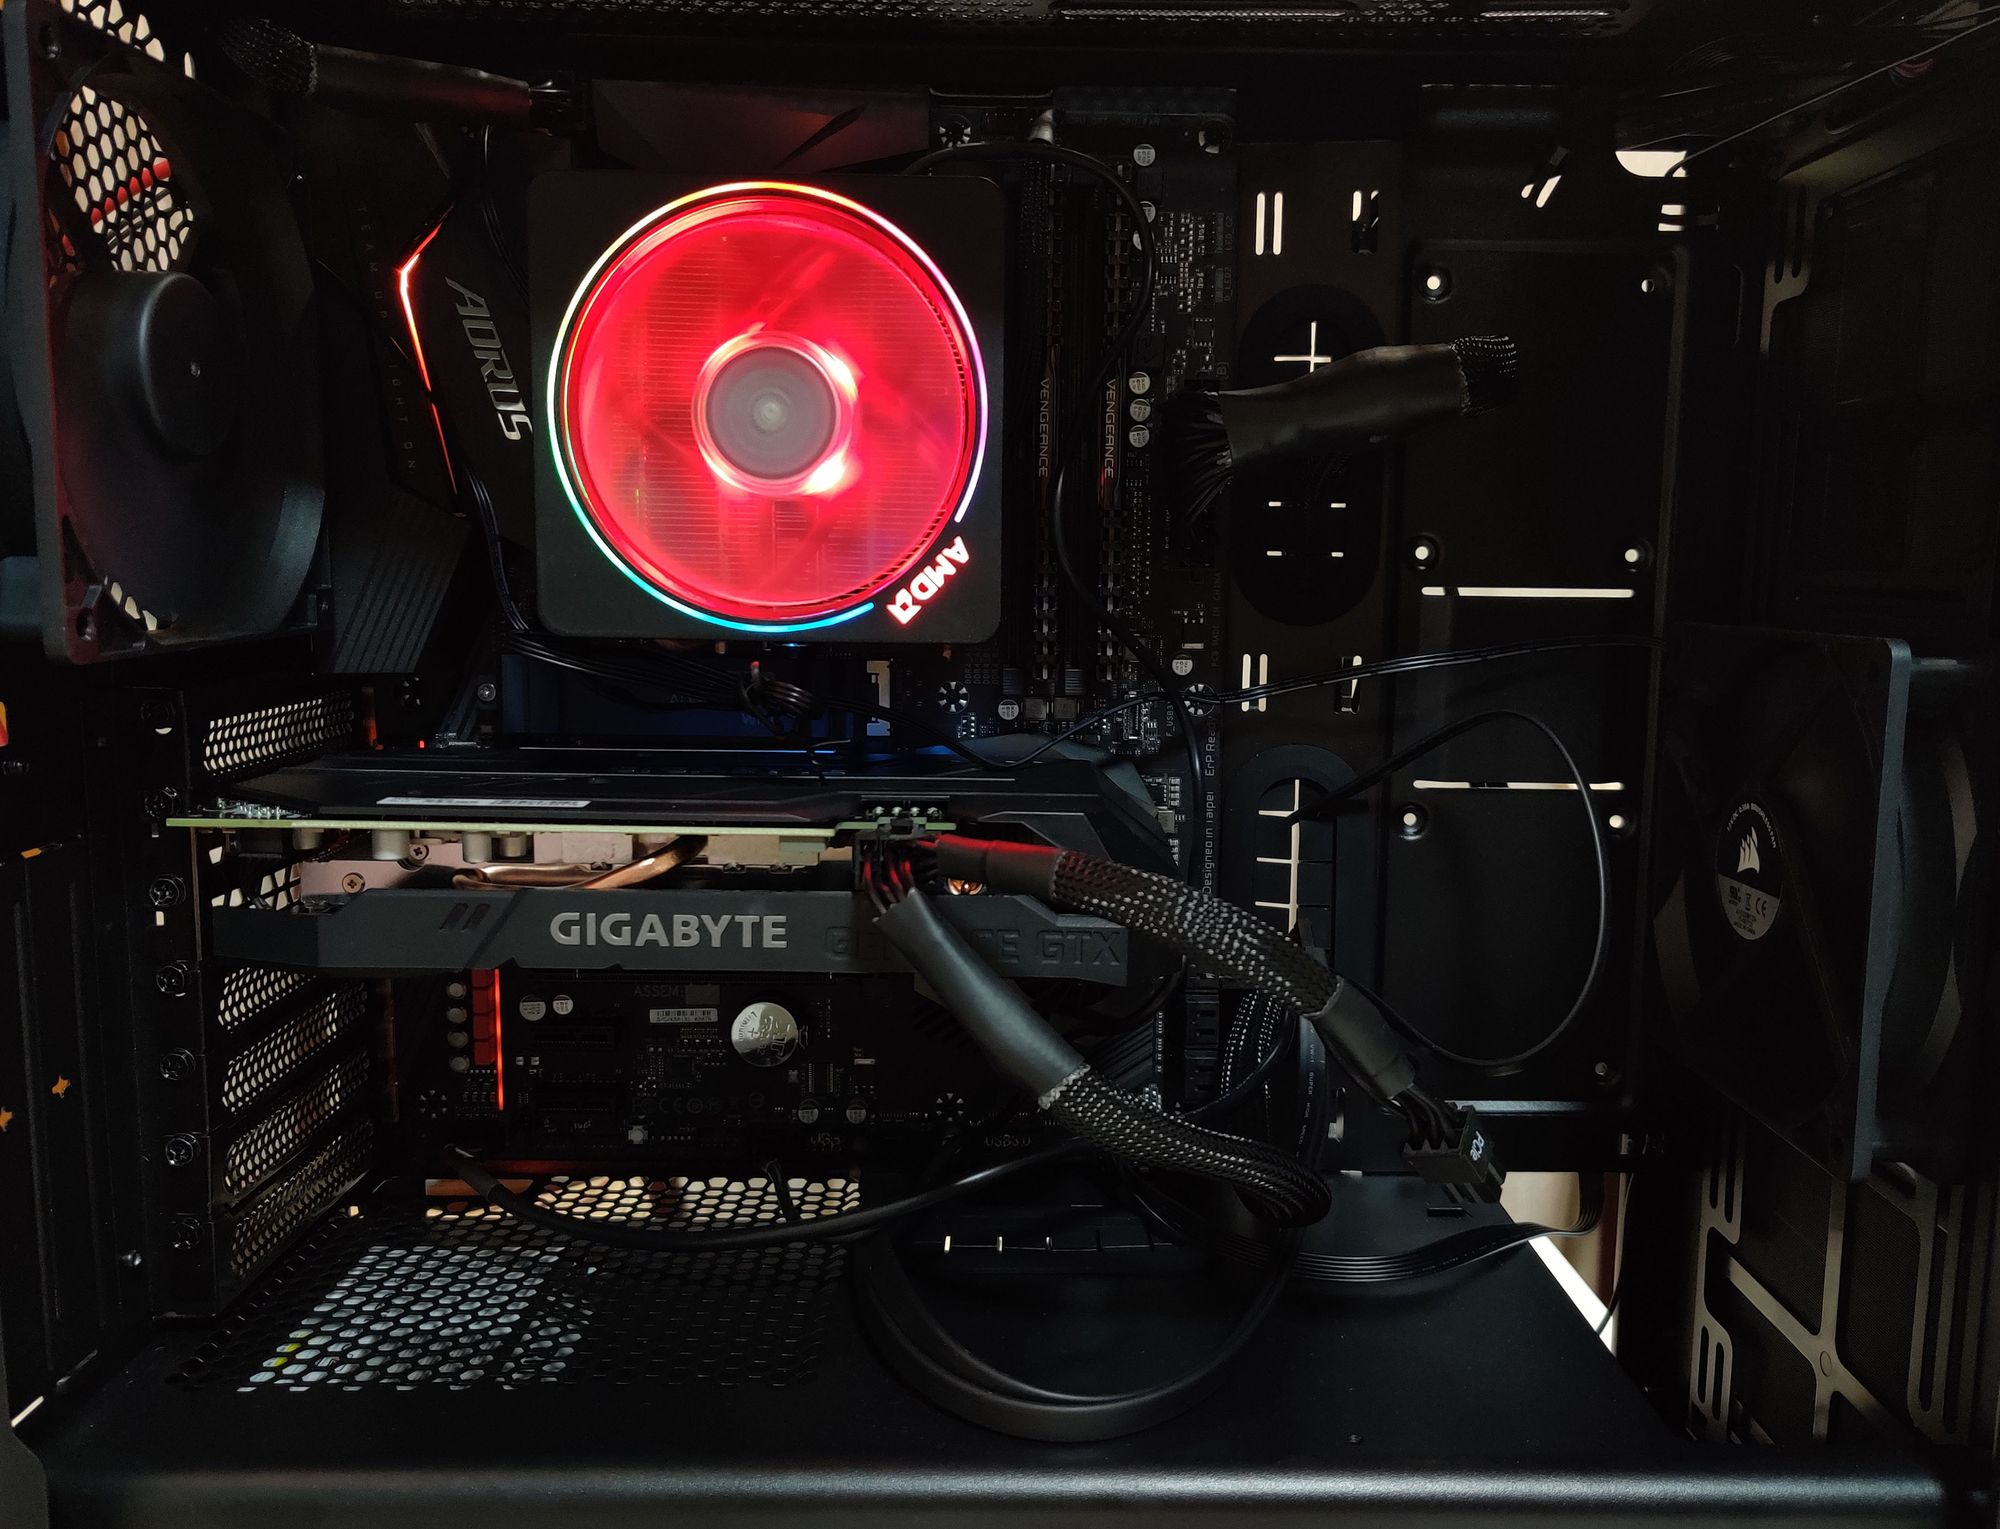
So we tried again. And this time everything worked perfectly, the wind blew in and the angels sang. Ode to Joy rang out somewhere.

Fresh challenges lay ahead, such as trying to find a version of Windows 10 which was very cheap and able to change the system language between Chinese and English, or working out how to actually turn off the lights on the multicoloured Catherine wheel which is the CPU cooler. At time of writing, the latter is yet to be discovered. But I digress.
At the end of the day, building a computer isn’t much of an achievement. As the internet can attest, it’s a common skill, and has got much easier in the age of video tutorials. That said, it still felt very satisfying, and I learnt a lot. In a world where we normally buy high-tech off-the-shelf devices which are resistant to even being opened, it was good to get inside something, and see what was going on. It reminded me of an account from legendary physicist Richard Feynman’s childhood, where he talks about the joy of taking radios apart:
“Radio circuits were much easier to understand in those days because everything was out in the open. After you took the set apart (it was a big problem to find the right screws), you could see this was a resistor, that’s a condenser, here’s a this, there’s a that; they were all labeled. And if wax had been dripping from the condenser, it was too hot and you could tell that the condenser was burned out. If there was charcoal on one of the resistors you knew where the trouble was. Or, if you couldn’t tell what was the matter by looking at it, you’d test it with your voltmeter and see whether voltage was coming through. The sets were simple, the circuits were not complicated. The voltage on the grids was always about one and a half or two volts and the voltages on the plates were one hundred or two hundred, DC. So it wasn’t hard for me to fix a radio by understanding what was going on inside, noticing that something wasn’t working right, and fixing it.” - Feynman, Richard P. Surely You're Joking Mr Feynman (pp. 20-21).
The Problem with Intuitive Design
While the satisfaction at the end was worth it, I must admit I found the bulk of the building process painful and frustrating. This is partly because I’m not naturally good at this kind of work – I can’t easily see how things fit together, and am horribly clumsy. But it’s also because, on some level, it’s just not that simple a task, and with technology, I’ve become more and more drawn to the idea that good design should be intuitive and user friendly.
I think this idea started with the Apple approach to accessibility, where they wanted to make it so that anyone could use an iPhone. This was a valuable innovation – software was unnecessarily difficult to use, driven by designers who did not have the average user in mind, and Apple pushed everyone else to also put users first.
The problem is that this encourages people to make the same mistake as me – blaming the designers as soon as they encounter a problem, instead of learning how to handle things themselves, and this acts as a barrier to becoming familiar with the true potential of modern technology. On this theme, the computer scientist Cal Newport has a great passage when he discusses the tools used by statistician Nate Silver.
“To start, we must remember that we’ve been spoiled by the intuitive and drop-dead-simple user experience of many consumer-facing technologies, like Twitter and the iPhone. These examples, however, are consumer products, not serious tools…
…consider the other technology [Silver] relies on: Stata. This is a powerful tool, and definitely not something you can learn intuitively after some modest tinkering. Here, for example, is a description of the features added to the most recent version of this software: “Stata 13 adds many new features such as treatment effects, multilevel GLM, power and sample size, generalized SEM, forecasting, effect sizes, Project Manager, long strings and BLOBs, and much more.” Silver uses this complex software—with its generalized SEM and BLOBs—to build intricate models with interlocking parts: multiple regressions, conducted on custom parameters, which are then referenced as custom weights used in probabilistic expressions, and so on. The point of providing these details is to emphasize that intelligent machines are complicated and hard to master. To join the group of those who can work well with these machines, therefore, requires that you hone your ability to master hard things. And because these technologies change rapidly, this process of mastering hard things never ends: You must be able to do it quickly, again and again.” –(Newport, Cal. Deep Work pp. 28-29).
Along these lines, apart from the pain of building a computer, I was also outraged how difficult it was to set up this blog – I couldn't believe it wasn't a 30 minute job, which really put me off getting started at first. This is, for obvious reasons, a bad mindset. Rather than take the time to understand the fundamentals of how website hosting is run, and how to follow the steps to get a page which looked half-decent, I was raging at why it wouldn't all just work. As Newport points out, truly taking advantage of technology requires the opposite approach, being comfortable with the fact that the most effective tools are not likely to be the simplest. Maintaining a high frustration threshold is important.
One area where I have a better record is general computer use. You've probably heard the advice before that if you use a computer all day you should learn the hotkeys. Or that you should learn to touch type. It sounds like common sense, but I would say most people I’ve met, even if they work on computers all day, can’t touch type properly. And of those who can, few without IT backgrounds have learnt the hotkeys for things as simple as closing a browser tab (ctrl-w), deleting a whole word (ctrl-backspace), or showing the desktop (Windows key + d).
At first, learning these things takes time, and the immediate efficiency gains don’t seem revolutionary. But learning even a slightly better way of doing something, where you get 5-10% faster, is still huge for any type of task you are going to do hundreds of times a day. Eventually, you can get to a stage where the computer seems to melt away, and the only bottleneck is the speed of your thought.
Of course, this kind of flow is only possible when working with tools I am familiar with, e.g., 0.01% of available software.
I should change this. If I don't feel entitled to the process being easy, maybe I can.
After all, I built a computer.